Wednesday, September 19, 2012

Rag Quilt Tutorial Part One

Today I thought I would give you part one of this tutorial, how to make a rag quilt. So these are a lot of fun! They seem time consuming but really no worse than quilting a quilt but a whole lot easier, and I love the look when they are finished! 

You will need:
Cotton (You can use whatever for the front as well, even more flannel)
A thicker something for the back like flannel. You can use different things for the backing but you will want it to fray. 
*Optional batting
Lots of thread! 
scissors
You do not need a lot of sewing skills for this (great beginner project!)


We need to cut our squares I like them 6in by 6in (in the end we will be sewing 1/2in in all the way around so it will end up 5in by 5in. For how much to buy I buy a little over whatever that size normally takes, I would rather it be too big than too small. For this one I just bought all the fabric remnants that matched so I really am not sure how much I used and I think about 7 yards for the backing in flannel. (For a king) 


After our squares are cut we are going to sew from one side to the next 


It is good to do this in a chain you will waste a lot less thread. It will seem time consuming but remember you wont have to quilt afterwords. 


Then cut between each one so they are no longer a chain. 


And repeat so you have an X through every square.


I like to stack them and in this case I do not have the same amount of each square so I can kinda get ready to plan my layout.  


That's it for part one! I will be back soon to give you part two! 
Here are some I have finished before..
This one made from scrap flannel and some old pj pants.


Saturday, September 15, 2012

Modge Podge transferring

So you may have heard of this, I hadn't. However now that I know of it I am addicted. This is amazing!

So to transfer any image that has been printed from an inkjet printer (magazine photos, newspaper, your own printings.) you will need an image or images, modge podge it doesn't matter if it is matte or glossy, fabric or whatever surface you want to transfer to. This will work on wood, plastic, glass fabric just about anything you can imagine!

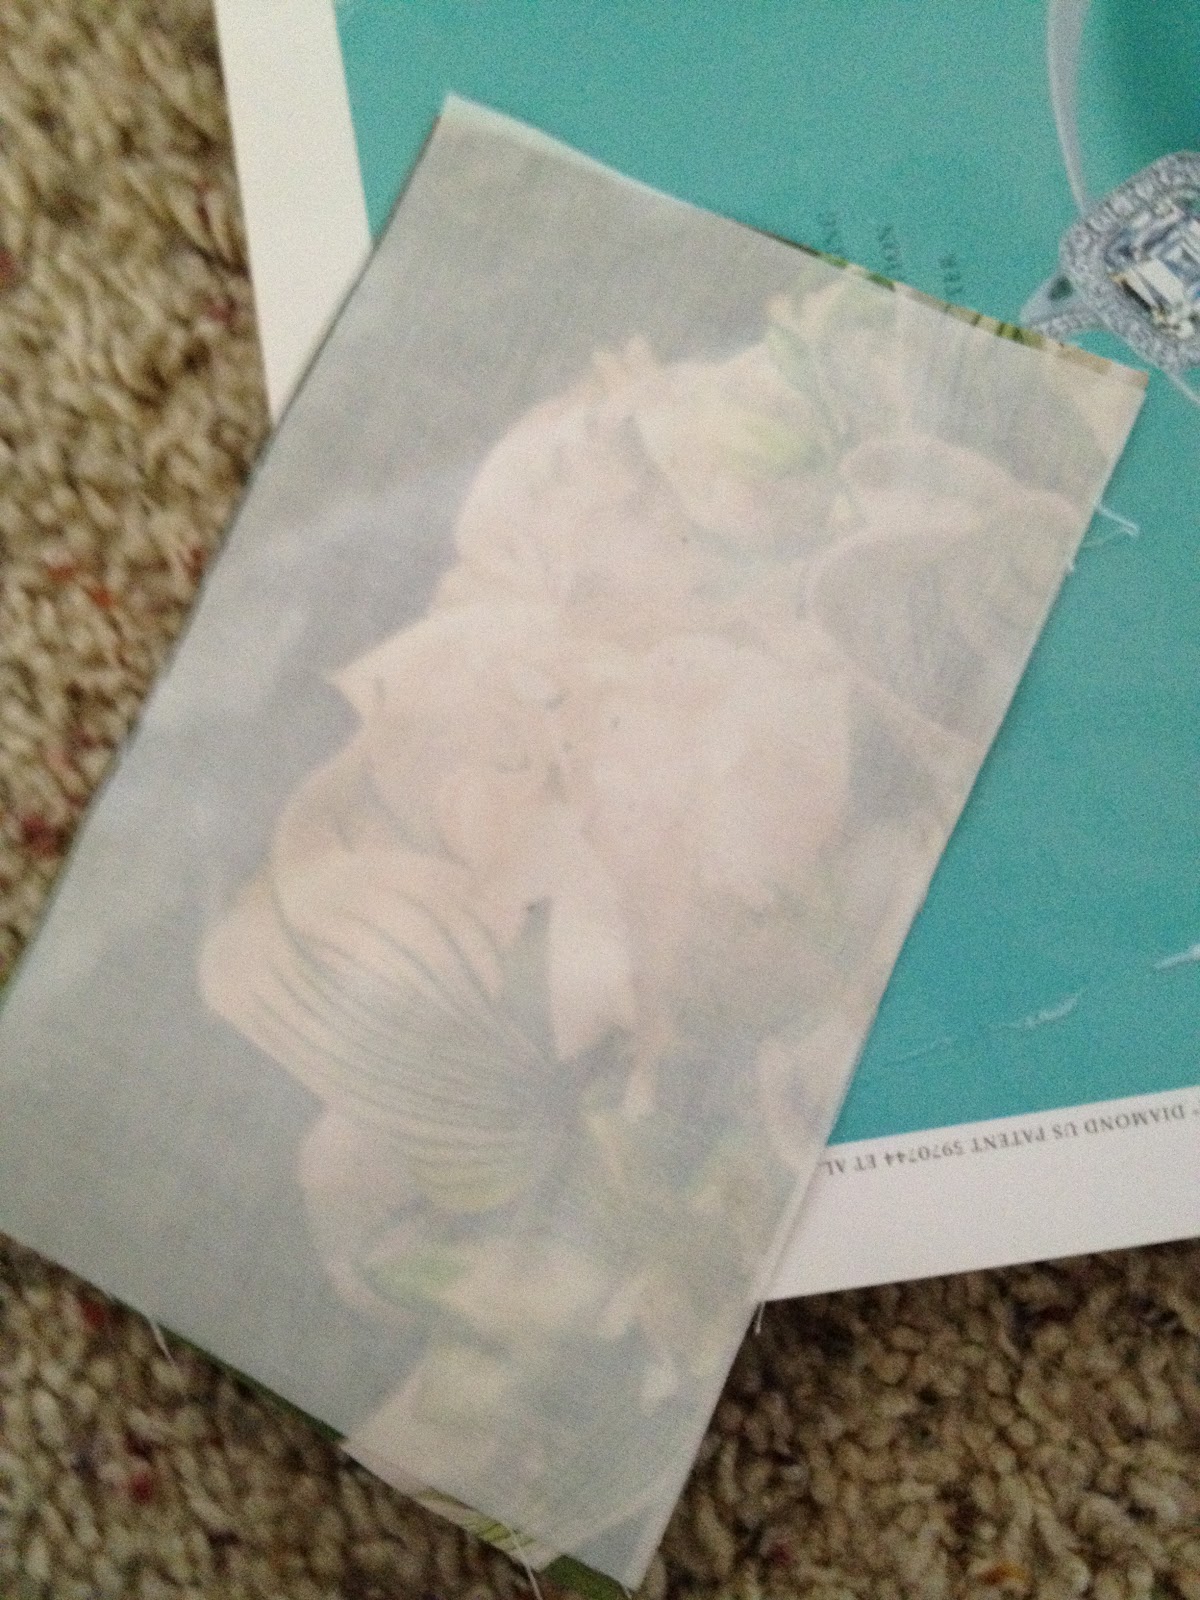
So this was my first try just a generic quick try I didn't believe it would work. Its hard to see in the picture it is NY. It is on a Tee shirt.


Cut your pictures to size. 


Cover your photo with modge podge generously. on the side you want to transfer. 


Lay it right side down onto your surface. Press down to eliminate air bubbles. 
Let it dry completely. It has to be 100% dry. Ill show you what happens if it doesn't dry completely.


Once it is dry wet the paper just enough so it makes it easy to rub off. And start rubbing..

You will start to see the image, keep rubbing.


Here is the first one it looks pretty good. Although some of it didn't transfer it looks great! 

This is the second which wasn't completely dry.  
So there you have it it is really fun I plan on layering some images to see what happens with them. I have heard it works better if they are black white gray photos but I like the worn look it loos good too. 


Monday, August 27, 2012

Christmas Quilt

I know its a bit early for Christmas but I am trying to get a head start as I want to do a craft show this year! I really have to get to quilting if thats gonna happen so... Here is some progress on a new quilt I am starting as the show will be shortly before Christmas I wanted to make a special Christmas quilt. Let me know what you think!


Thursday, August 23, 2012

Lots going on!

So it has been a while since i have posted but i have not had idle hands. I have been making lots of little projects in my free time. But sorry I haven't posted in a while, with my job I have been a little busy and when I am not working I am usually doing things with the boys. Crazy how time flies. Any way one of the many things I have been working on are para cord bracelets here are some pictures of the ones I have made 


This is the start of one. I like the way the colors switch. 

I love the way these bracelets look and there is enough paracord in these so that if in an emergency situation you would have it to use if needed. 

In addition to my bracelets I have also made some pop tab items. I have made two belts: 


And I am also working on a purse...


I still have to make the lining and a flap that helps keep it closed 

Tuesday, July 31, 2012

Crochet afghan Finished!!


Sorry it has been a while since my last post I recently started a new job and it has left me little time for crafting. But now my hours are slowing down, I was able to complete this afghan! Here are the finished pics!! 


A close up...


Monday, July 16, 2012

Several WIP's (Works In Progress)

So this past week I have been working on several different things, maybe I have started so many because even though none are done yet theres still lots getting closer! Here are some pictures! 


Here is an afghan I have started. I am hoping to make it very large hopefully enough for a king but we'll see. 


This one I am making for a baby blanket. It is so soft and warm! 


I love the color contrast! 


Here is one of the many rags I am trying to make a ton of them! I like these because they come together pretty quickly. My other pic of them would not load but will add the rest later :) 

Sunday, July 8, 2012

Fire works substitute

This fourth of July fireworks were totally banned in our area not even the public displays. Usually we go all out but not this year. Still wanting to do something fun with my kiddos I decided to tye dye! They loved it! So much fun! Here are their shirts!